I found some books for sale at my local library for $1.00 each. I used hardback books in shades of blue. I added a grey colored book because it matches my canvases that I covered with material to use as decor as well.
 |
| These are the three blue shades I found at my library. Its hard to tell (poor lighting), but they are teal, light blue, and royal blue. |
I found books with no markings on the outside. These books also had covers on them, so I removed the covers. Of course, you can do whatever you want to do! If your library doesn't sell these books, check the Dollar Tree. They have tons of hardback books for $1.00 each, and all you have to do is find the colors and sizes you like, and remove the covers.
Then I made a trip to Lowe's with my hubby and found some shelf brackets. They come in a package of four and the screws are included.
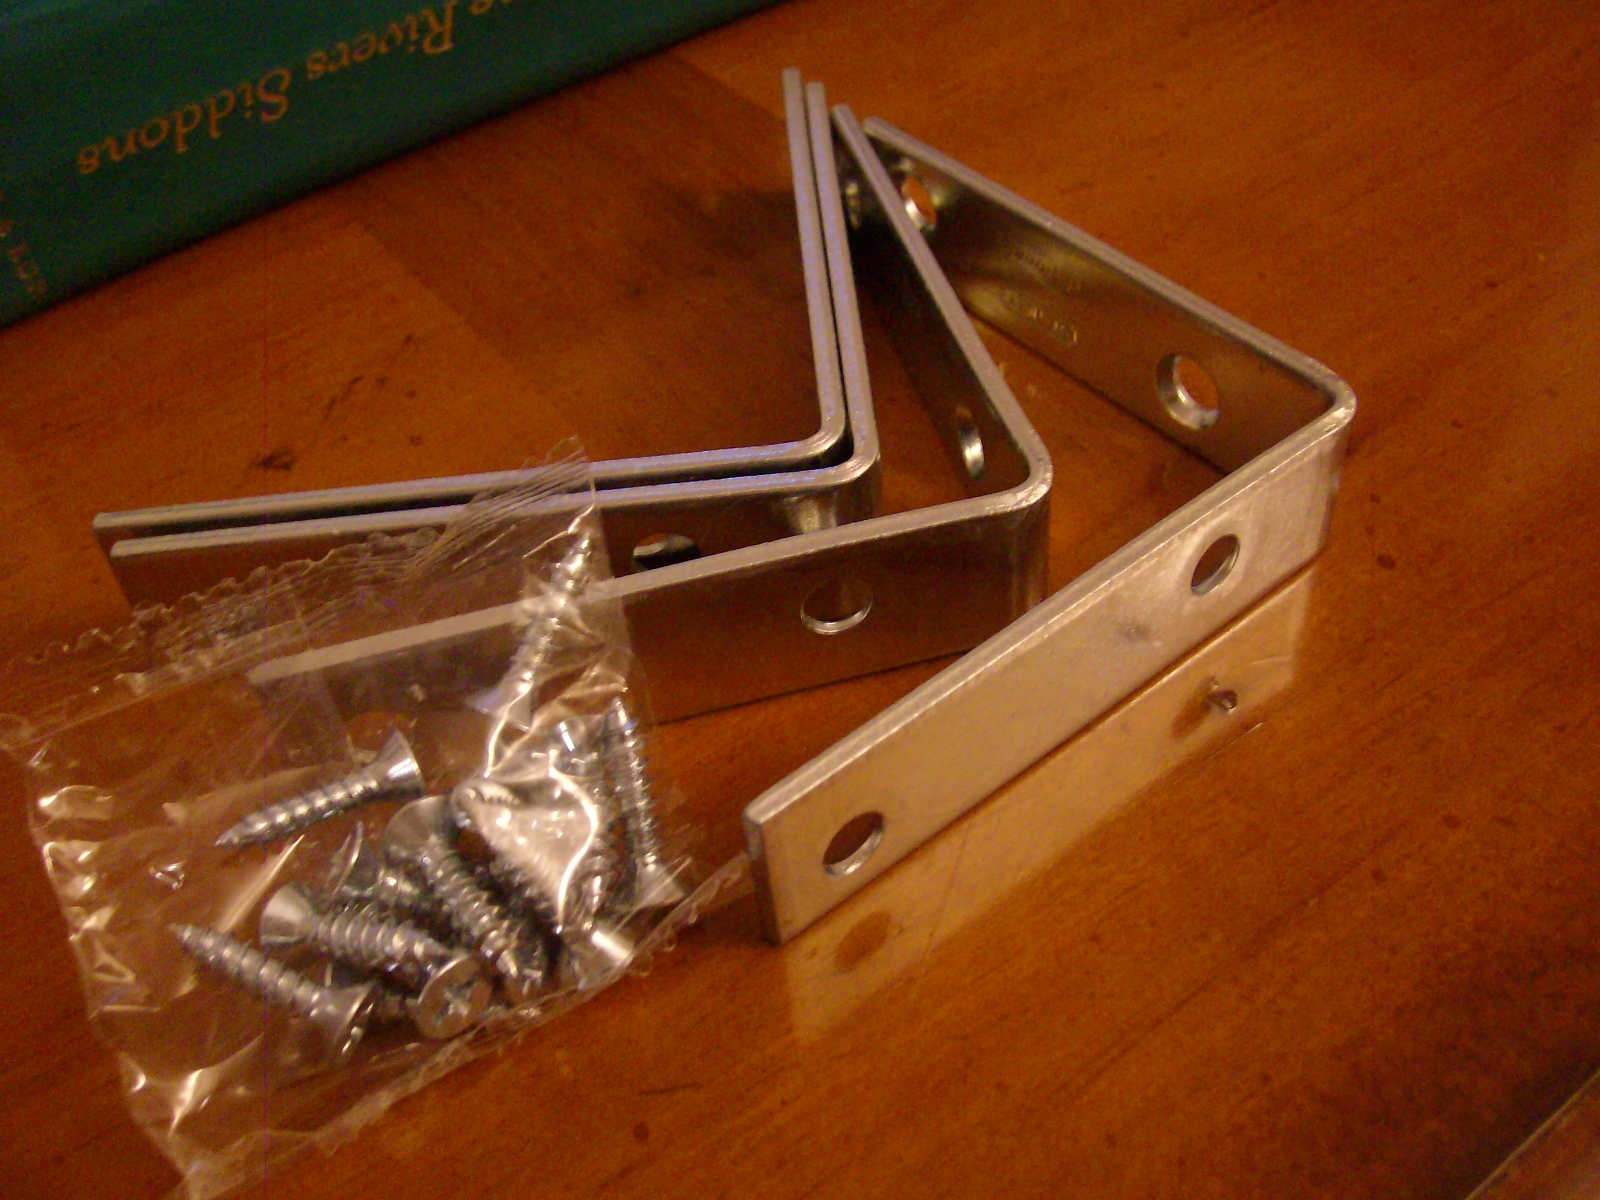

So, I purchases two packets (eight shelf brackets). I then used my drill and carefully attached the brackets to the bottom of the books. I was unsure of this step, but it worked well, and it was really easy with a power tool!


Be careful during this step. You have to place the brackets so that they are along the page edges (not the book binding) if you want the binding to face out. Also make sure your book name is UPSIDE DOWN when you attach the brackets. Then when you flip the book right side up to attach to your wall, the book name isn't upside down. Note: when you are drilling into your book, the pages will start to separate. Don't panic. Just hold the book down and keep going. It will straighten up!

Continue with your other shelves. I used four books, but you can use as many or as few as you want. Now they are ready to place on the wall. Yay! I haven't completed this last step. I'm waiting for the hubby to get home so he can help me make sure they are level and help with the placement.

See how the book titles are upside down when you attach the shelf brackets?! Well, when you are finished, they should look like this when you place them on your wall:

These are sitting on my coffee table waiting for the hubby to get home! I'm so excited to put them up. My goal is to add some decorations to my shelves so that they look similar to this:
 |
| Photo courtesy of: www.apartmenttherapy.com |
Maybe use children's books to make some for your kid(s)' rooms. Or vintage cookbooks for your kitchen. Maybe Encyclopedias for an office? The possibilities are endless. So many placements and options because you can find various colors and styles of books and decor to sit on the shelves. If you are looking for antique books, you can check your local thrift store as well. I also found various sets on Etsy.
Note: The tutorial is created by me after seeing the picture of using books as shelves on Pinterest. I saw the picture and thought, "Hey, I could make that!" I do not take credit for the original idea.